This is an Image in which the objective was to remove the wrinkles off of this man. The image on the left is the starting image (Before) and the image on the right is the finished product (After). The way the wrinkles were removed was with the healing brush tool. This allows you to copy an area and use is like a brush.
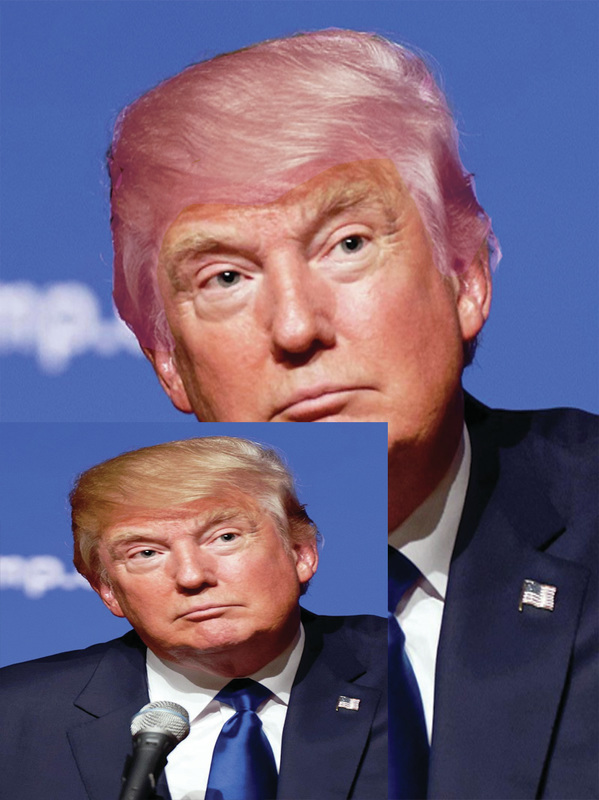
The purpose of the two images above was to work with hue/saturation. The small picture on the bottom left is the image that I started with (Before). The bigger image in the background is the end work (After). The hue/saturation tool lets you play around with and change the original colors of the image.
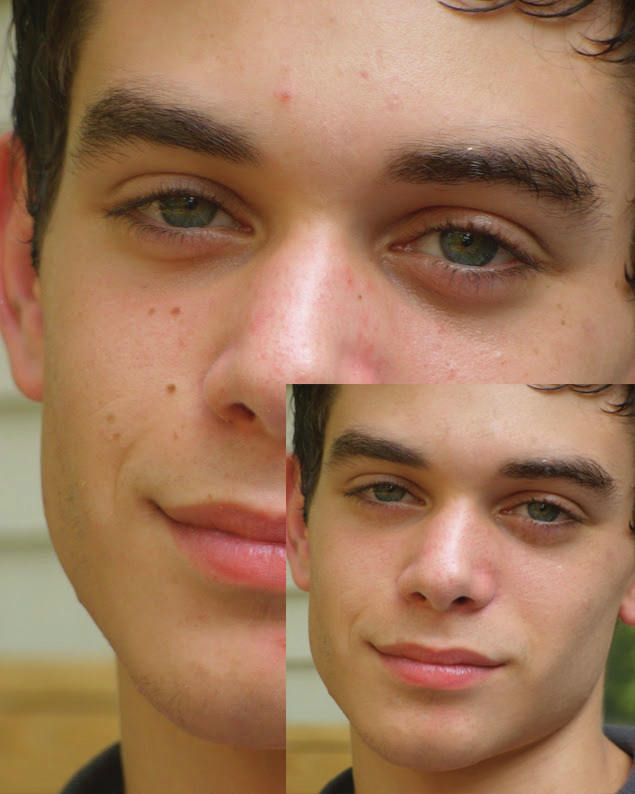
This project's objective was to remove the blemishes from the boy. To do that I used the healing brush tool. I copied an area where their was no blemish and place it over the areas that had blemishes. The background Image is the starting image (Before) and the smaller image on the bottom right corner is the end result (After).

The purpose of this project was to teach us how to use motion blur and make a clipping mask. The automobile appears faded or with a blur in the rear end because that is the area that received the motion blur effect. The circle with the yellow outer area is the clipping mask.
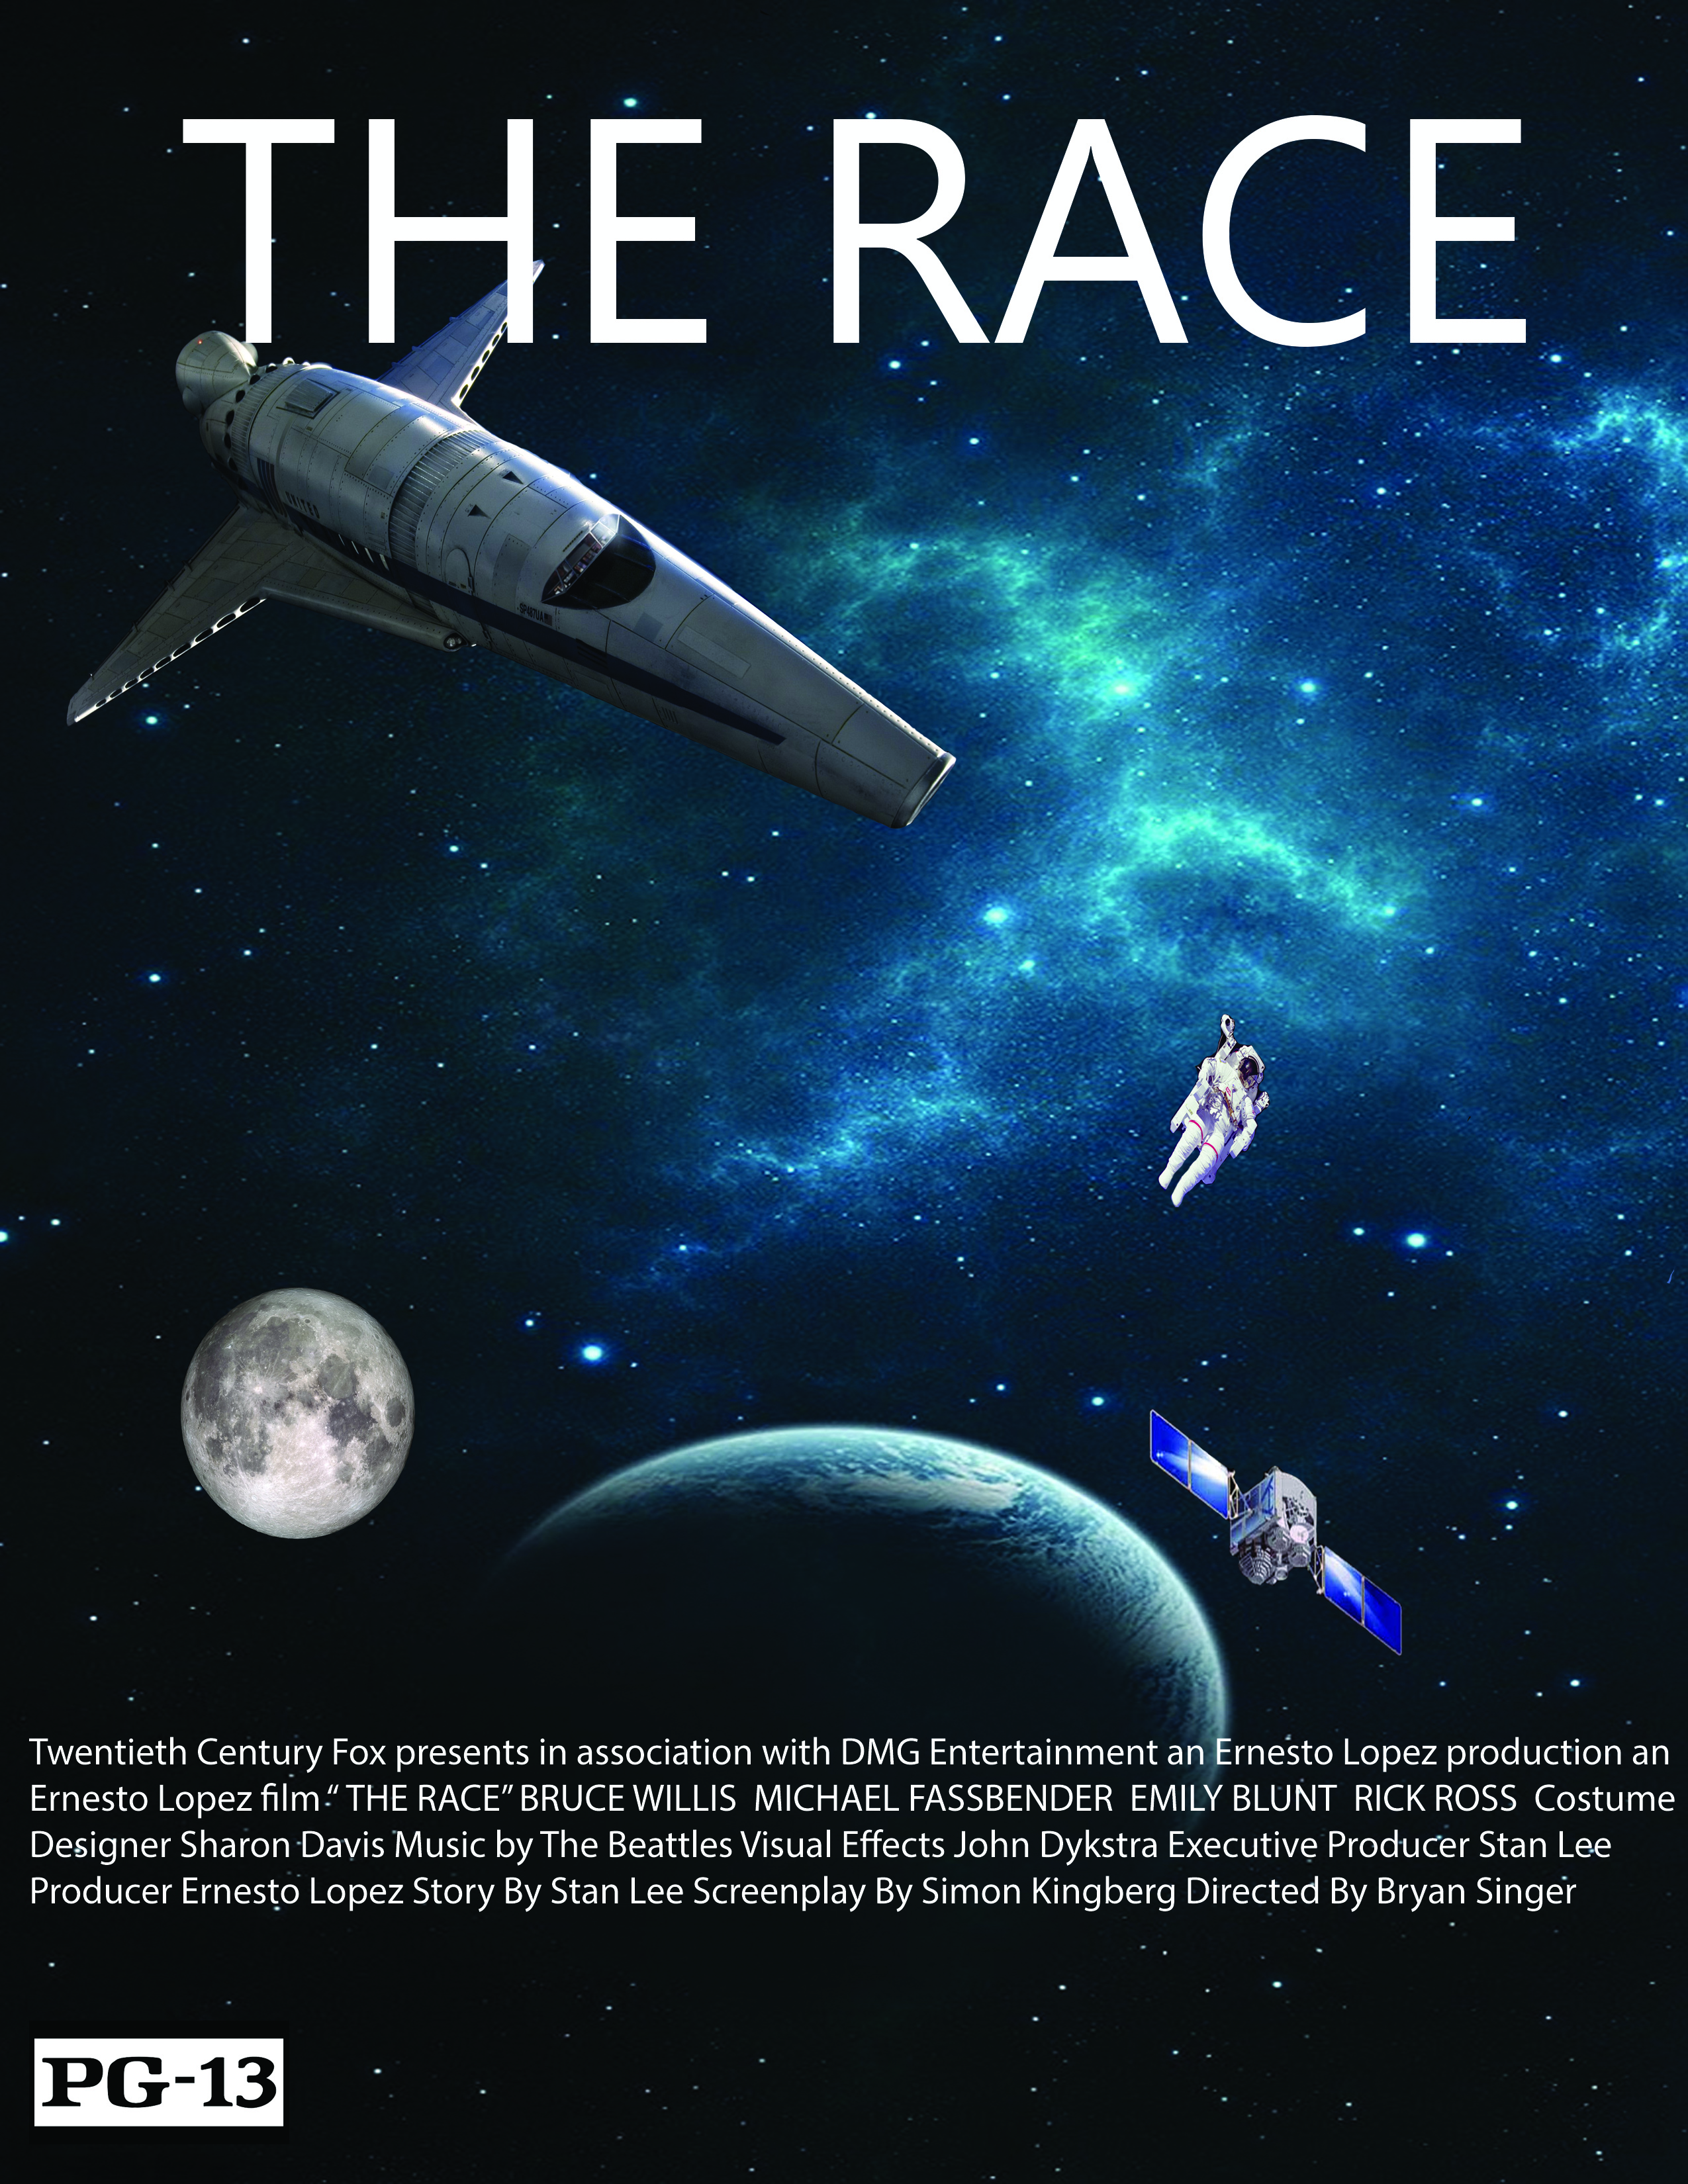
In this project the idea was to create an original movie poster. The poster was created in Photoshop with all the skills we have learned over the year, that was also a major key when making this. I chose a space theme because the genera is very interesting to me.
This is a recreation of one of muybridge's original motion pictures. It was made frame by frame on Photoshop.
This is an image in were I changed the hue and saturation in each frame individually and created a gif